It’s been a while, I took a break to evaluate the direction I plan to go with this blog. I completely cancelled my Amazon Prime account opting to just use standard shipping and use Noggin and Starz or HBO subscriptions to get our TV fill for the family. On that note, the Disney app is completely free at the moment, even if you don’t have a cable subscription. The only draw back is you will only have access to two-three full length episodes, but I think this is plenty for my toddler, so it’s worth it. We are trying to pull away from the consumer culture and start producing by paying off debt, staying out of debt, and creating things outside of the internet. You know, how people used to be. I’m not sure how many more posts are going to be recommendations for products, I may just transition into how to guides and possibly start selling my own products in the future. Let’s start small. We finally completed our first raised garden bed that I mentioned in one of my first blog posts. It was an idea I grabbed from Pinterest and it was easier and cheaper than I originally expected it would be.

The entire setup here cost about $60 from Lowe’s, I priced Home Depot and it was around the same price if you have one of those in your area. The first thing we did was bicker about the best place to put it. If you have never gardened before the first thing you need to know is where the sun hits in your yard. Many vegetables, herbs and flowers need full sun for at least six hours a day. You also need to know what hardiness zone you live in, (https://planthardiness.ars.usda.gov/PHZMWeb/ if you live in the US) we live in one of the seven zones so we can grow most things, but some plants will only be annuals in our zone, if I leave them outside during the winter, such as my Dahlias, which I will show you in a bit. (Annuals must be replanted each year (regardless of zone), biennials have a two year life span (in your zone), and perennials come back each year on their own (in the appropriate zone.))
It had been cloudy and rainy for almost a week when we decided to do this, which was great for my husband because he needed to dig out a level spot for the cinder blocks and that’s easier when the ground isn’t hard and dry. While he was digging in a spot the sun finally came out and I told him in the most gentle way I could that it wouldn’t work because the trees created too much shade so we opted for a place closer to our patio and it worked out great, although it is on a bit of a slope. He was okay with this because it’s originally where he wanted to put it anyway, so everyone was happy. The next thing we did was lay down some old cardboard boxes, (you can use painter’s paper or paper grocery bags as well this was just easier for us), which I had a ton of from my Amazon addiction days. We used a utility knife to cut them to size and then laid a cinder block on the edge of each one…like this:

After we had all the cardboard and cinder blocks laid out my husband drilled drainage holes which wasn’t talked about in the Pinterest article and I wasn’t sure if it would matter. My husband insisted and I thought, “why not?” He used a Dewalt cordless drill, you can use any power drill just space out your holes a few inches apart and make sure you put at least one in each other block holes you plan to plant in. (You can just clean the drill bits with water and dry them off well afterwards.)
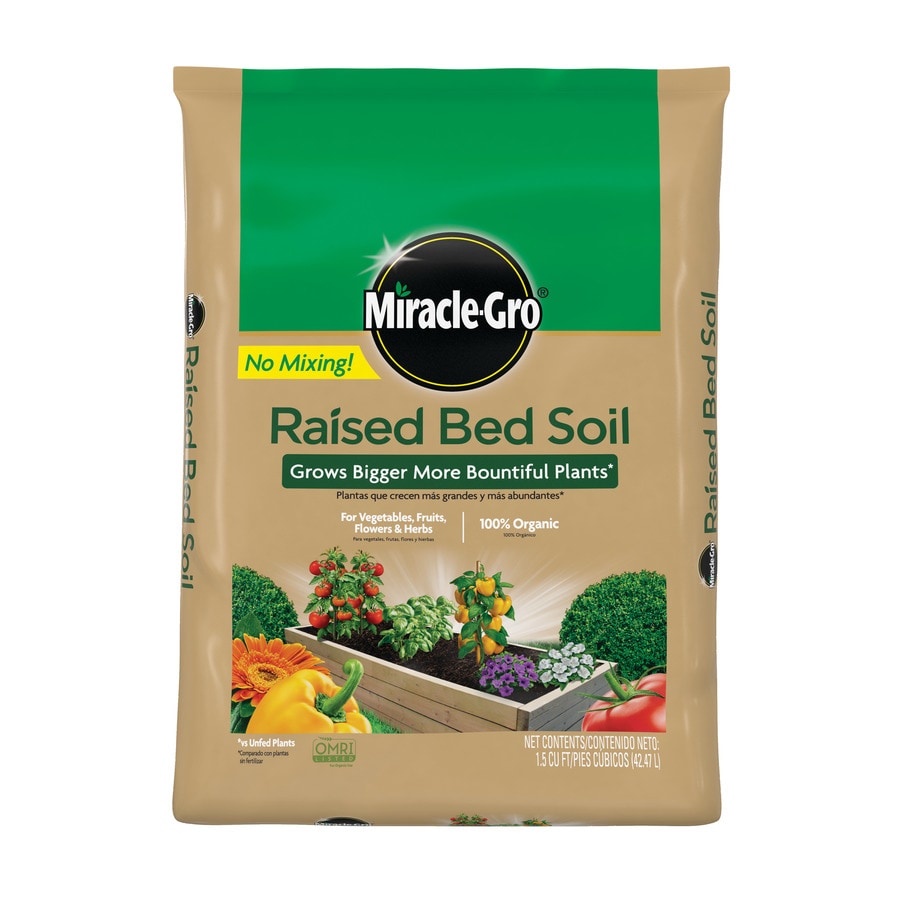
The next step was soil! We chose Miracle-Gro Raised Bed Soil, because it was on sale from Lowe’s, two for $12, we actually needed four bags of the 1.5 Cu-feet to complete what we built. I’m going to get another bag to finish the outside holes of the cinder blocks. Don’t buy this soil from Walmart online, they are asking $40 a bag at the moment and that’s just outrageous. You can use any soil that is formulated/mixed for raised beds.

After we filled the middle portion of the raised bed I started planting my tomato and bell pepper starts and all my vegetable sprouts I had been growing in my garage. I started them in egg cartons a few weeks before, I recommend getting some jiffy pots instead because it’s REALLY hard to transfer sprouts from egg cartons and they don’t have enough depth to thrive and grow strong root systems, but it was a fun experiment.

I also bought a couple flowers and a small lavender bush start for my front yard. I repotted them when we got home and they have been doing fabulously. I recently cut the pink blooms off the Dahlia so the smaller blooms could pop up. (And because my toddler LOVES flowers, I couldn’t say no to him.) The new blooms are more vibrant and hot pink, I love them! (so does my toddler, but he is waiting this time.) The lavender is starting to bloom as well if you look really closely. I started some sunflowers and Zinnias from seeds and those are the sprouts popping up in the jiffy pots. I plan to move all of those jiffy pots and go pick up some strawberry starts to plant in the raised bed holes this weekend. Thanks for hanging out while I figure out the direction I’m going, hopefully some of you will start a garden, it’s rewarding and productive. More soon!


